I always seem to forget to take a picture of my happy stampers during the class. I get so involved in teaching the techniques that the photo often gets overlooked. At least I remembered to take pictures of the cards, and here they are!
Pop-up Pillar card
This card is a Pop-up Pillar card inspired by Lynn Dunn from Stamptastic Designs. This unique card features a special fold that allows a vertical pillar to “pop up” when opened, creating a striking 3D effect that is perfect for display. When closed, it folds flat to A2 size, making it easy to insert into an envelope for mailing.
To create the base of this Pop-up Pillar card, start with a piece of cardstock measuring 5-1/2″ x 8-1/4″. Score the 8-1/4″ side at 1/2″, 2″, 2-1/2″, and 4″. Fold along all the score lines to form a 3D box-style pillar on the left side of the card base. Finally, adhere the 1/2″ section down to the base of the card to secure the pop-up pillar.
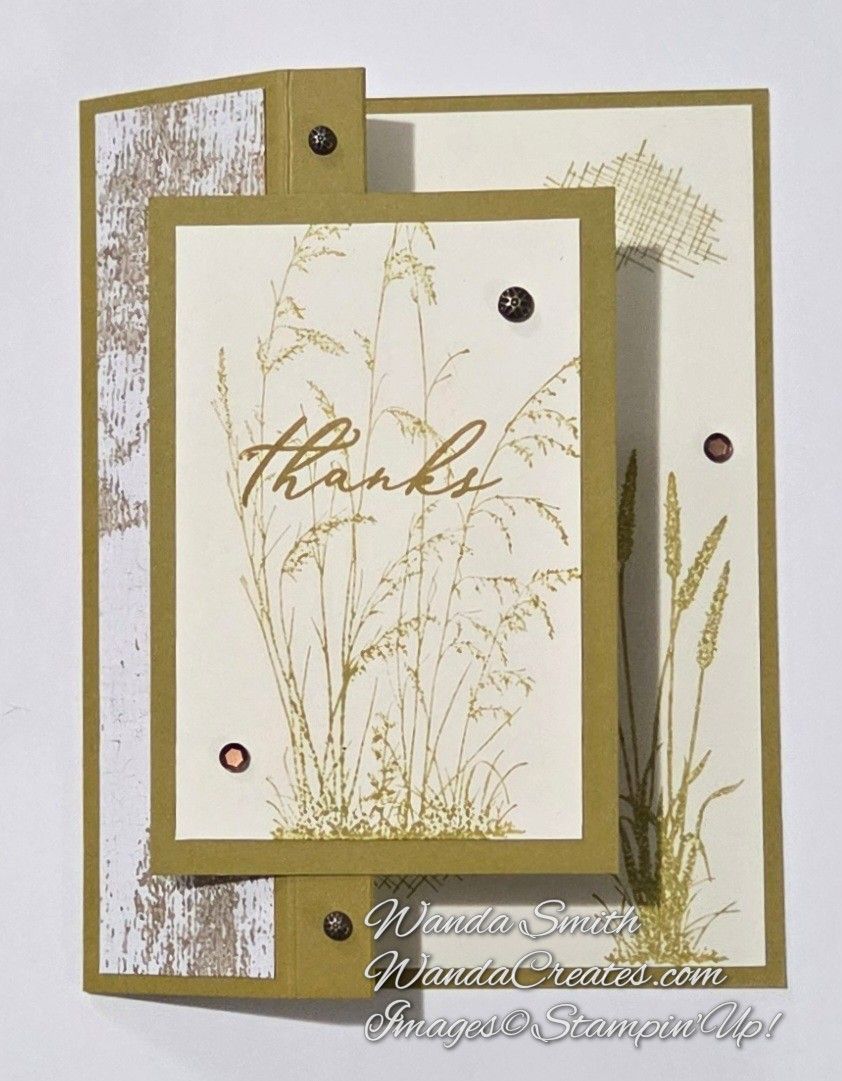
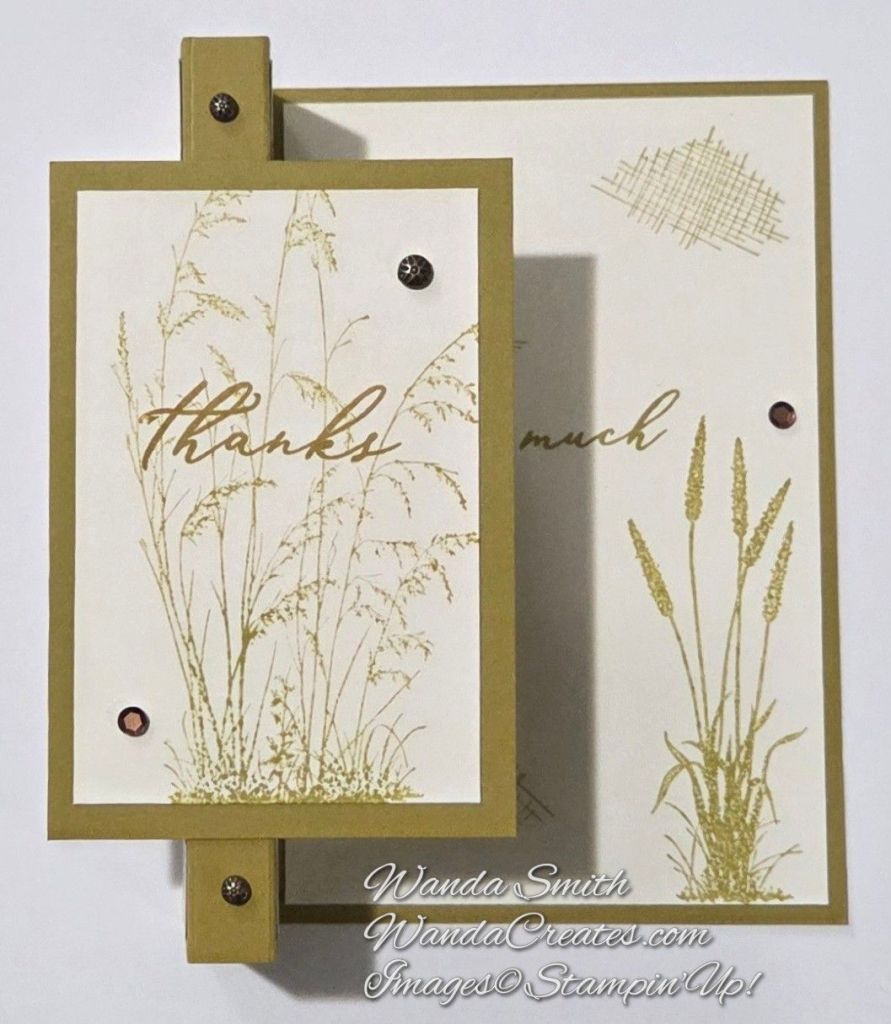
Middle Flap Card
- Score 3-1/4″ x 5″ cardstock at 1″ on the long side.
- Create a flap by folding on the score line and adhering to the back of a 5-1/4″ x 4″ cardstock right in the middle.
- Take a piece of DSP cut at 5-1/8″ by 3-7/8″ and cut 1″ strips off at each end on the long side.
- Adhere the middle section of the DSP to the front of the flap.
- Adhere the strips to each side of the 5-1/4″ x 4″ cardstock
- Adhere the layer to a 5-1/2″ x 4-1/4″ coordinating cardstock
- Add sentiment and ribbon

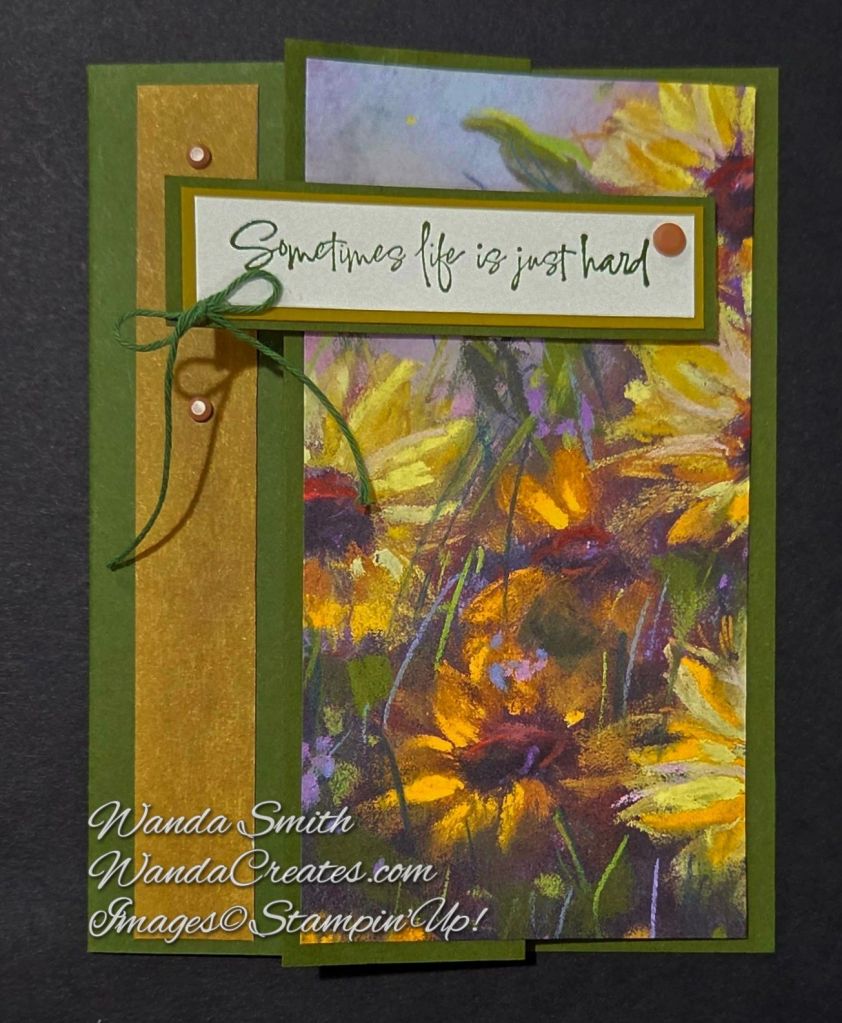
Scene Fold Card Dimensions
- Cardstock piece 5 ½” x 8 ½ ” and score at 1 ½” and 4 ¼” then fold into mountain valley folds
- DSP (Designer Series Paper) cut a piece of 6″ x 6″ at 5 ¼” from the top. Then, starting from left to right, cut at 2 ¾” and at 1 ¼”
- White cardstock, cut at 2″ x 5 ¼”